Many people go about their days and some notice the number of wild cats living in their neighborhoods, on college campuses, in gardens, or even in the alleys of cities. Out of sympathy, some people bring these stray cats into their homes as a new pet without considering how this change of environment will affect the cat or themselves. This is not to discourage folks from taking in homeless cats or kittens; those who do are animal saviors. But let’s go over a few questions that you should ask yourself:
If I take in a feral cat, can they become a happy, welcoming, domestic pet?
- Many cats can transition from feral to domestic behavior. Adult cats have a more difficult time with this change then kittens do. Wild kittens are still in the state of needing to be nursed, nurtured, and needing food to be brought to them. With you as their caregiver, they will be more open and accepting to care and developing trust with their new humans. Kittens will also be able to socialize with other humans and other kittens within some time.

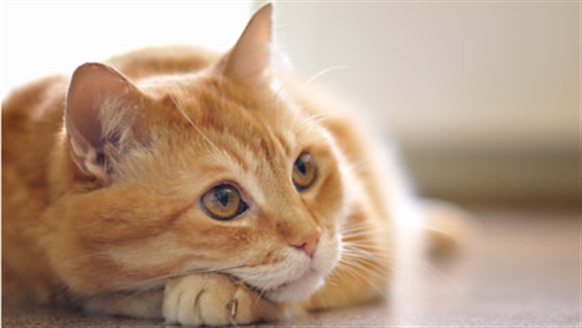
This dirty little baby really needs a loving home.
- Adult cats can change too, but that process will take longer and will require a large amount of patience from their new humans. Keep in mind that adult feral cats were either misplaced, abandoned, or raised in the wild. Developing trust with humans will be hard for such self-reliant and estranged cats.
Should I take my new cat straight home? How do I start training them?
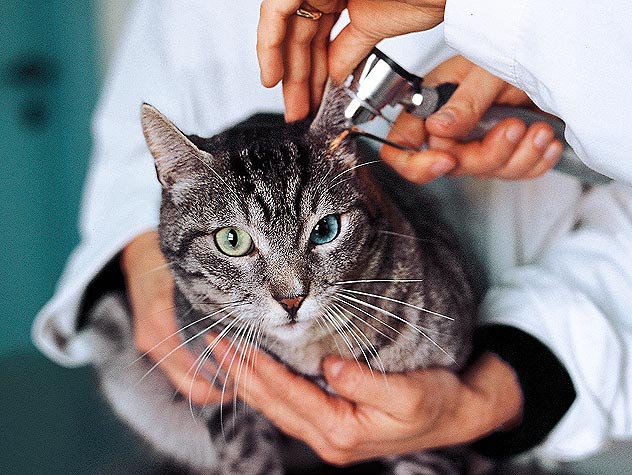
- Once you have a feral cat in your arms, the smartest thing to do is to take them straight to a veterinarian; this is especially true if you have other cats or children in your home. You need to know about past or present injuries and parasites, how the cat behaves with the veterinarian, getting vaccines, and other medical matters before you start the move-in process.
- Once your cat has been cleared by the veterinarian to be taken home, remember to remain patient and to give your new cat plenty of space and alone time to settle into their new environment. Don’t force attention, over stimulation, or snuggling on your new cat. Remember that they need to develop trust with you and that only happens when they can feel safe exploring their new home and when they can take the time to watch and get to know you. Provide your new cat with a quiet and peaceful home as they adjust.
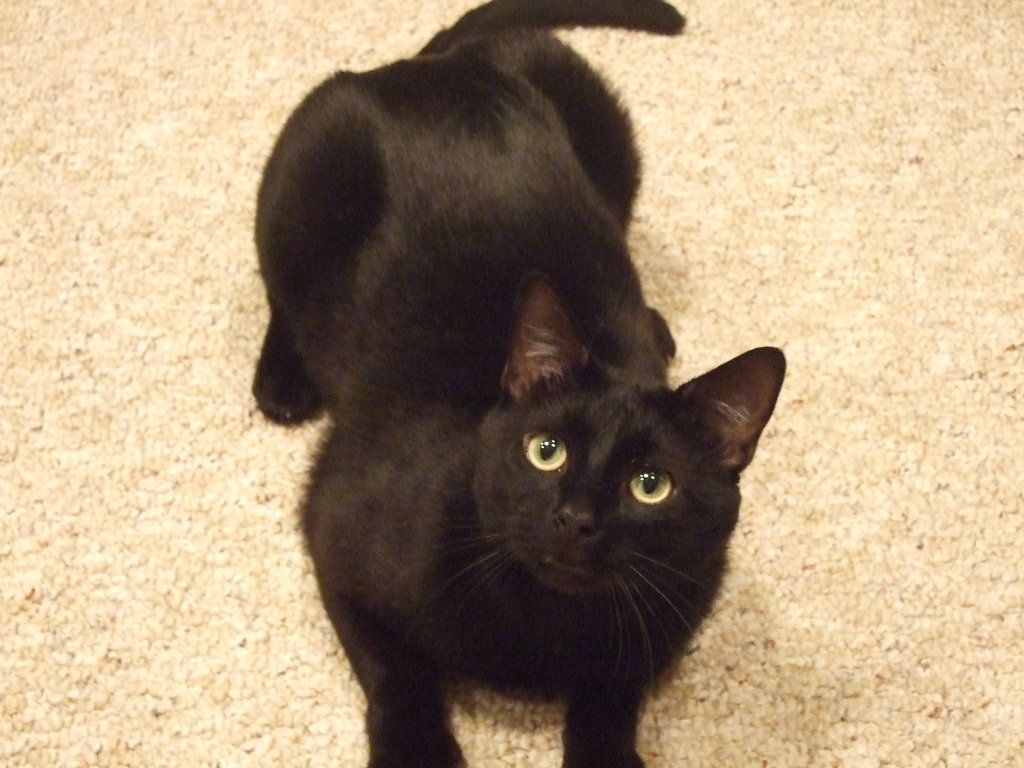
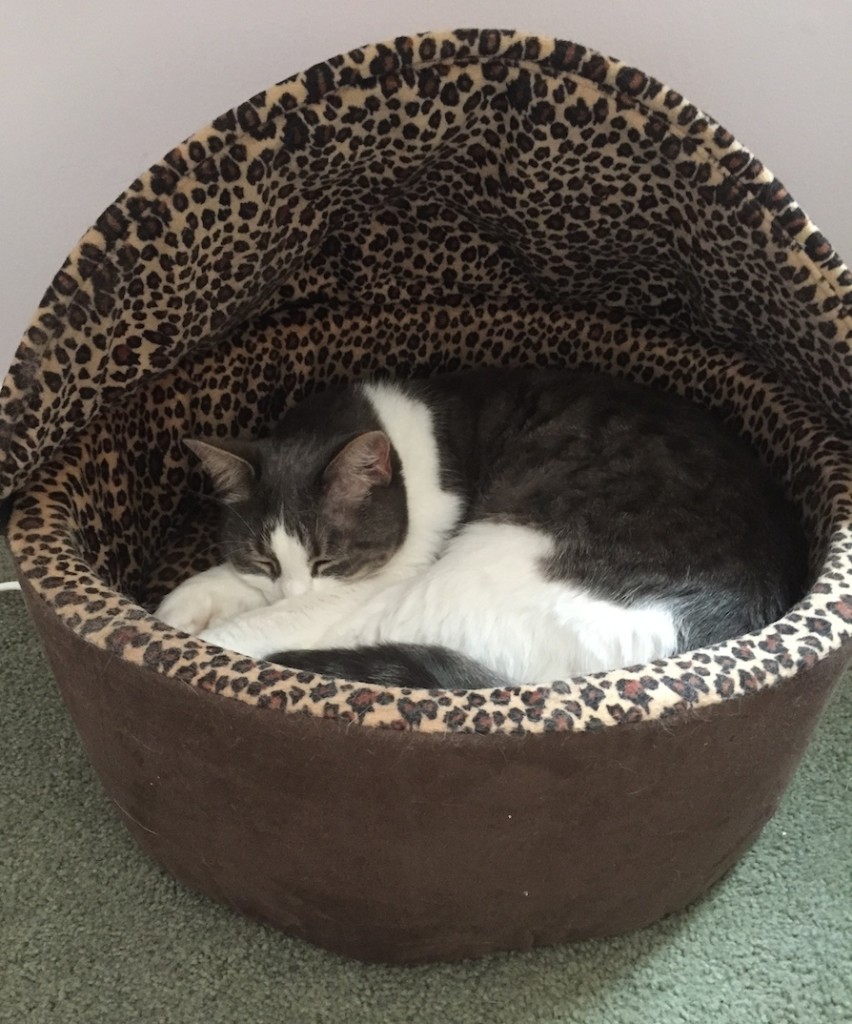
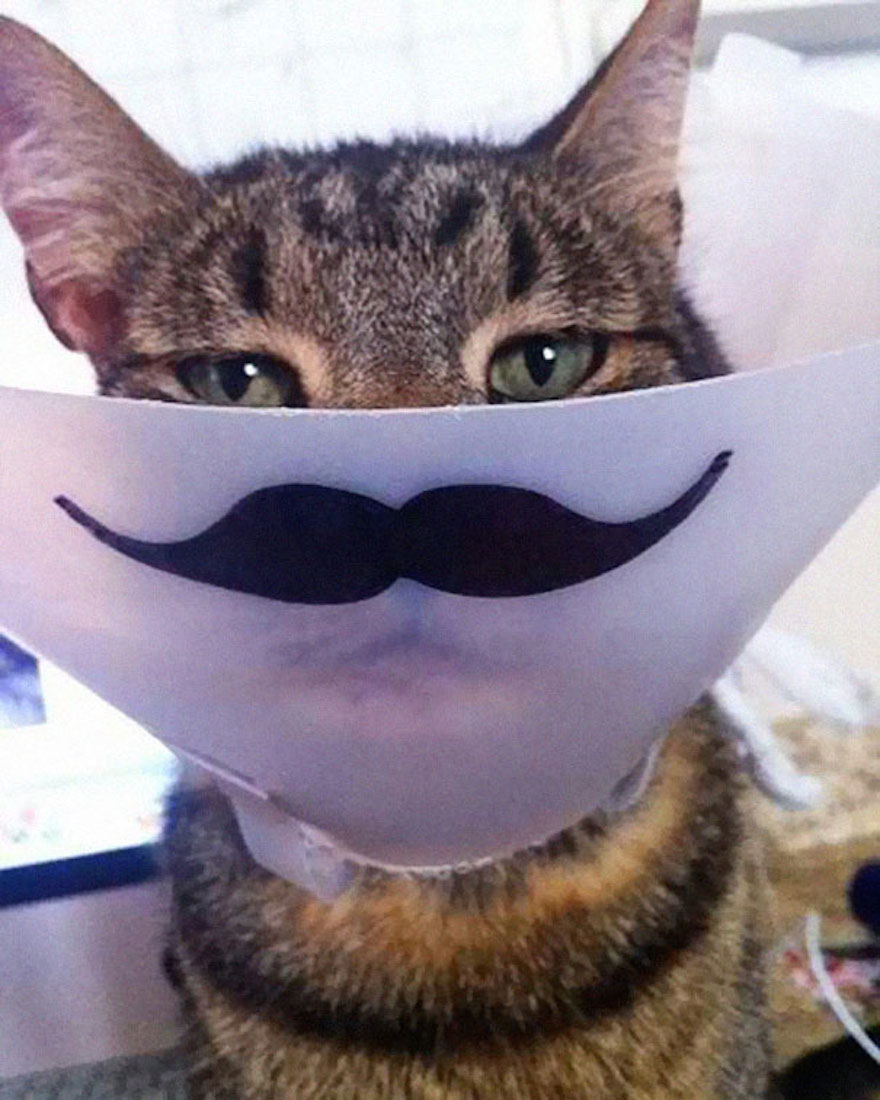
This cat is very curious about what is going on, but he’s not ready to get involved yet.
- In terms of training, I suggest that you show them three areas that will more than likely become safe places for them: where the litter box is, their water and food dishes, and a scratching post. A steady routine of when your cat is being fed will help them figure out when and where they can use the restroom and when they can start playing.
How can I tell is trust is building?
- When your new cat begins to trust you, they will be willing to come near you and may become more loving, too. Remember what I said before: do not force yourself on your new cat. They need to set the pace of interaction with you, they need to observe you from a distance that feels safe for them. They will be close enough to be able to smell, see, and hear you 24/7. When you decide to start playing with them, I suggest a cat pole with feathers or a fake mouse tied to the end.
- Safe places to pet your new cat are the top of their head and their neck when they’re willing to accept your touch. Use treats as rewards and positive reinforcement for their behavior. Remember not to have high expectations, some feral cats will become your best friends where others may not be able to become lap cats. Every cat has a different personality and has had different experiences that will affect the way they integrate into their new life.
Fredrick Douglass and His Story
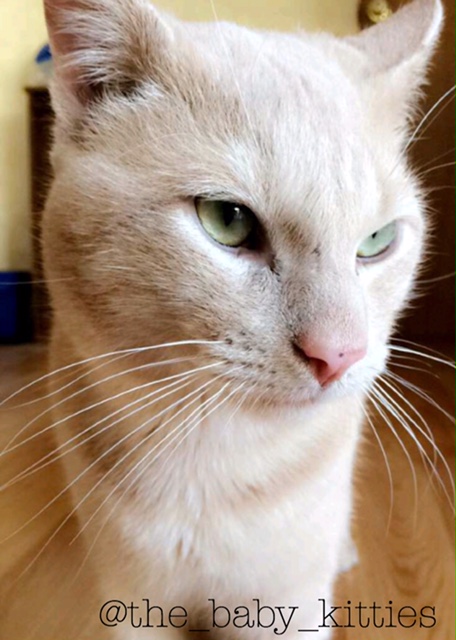
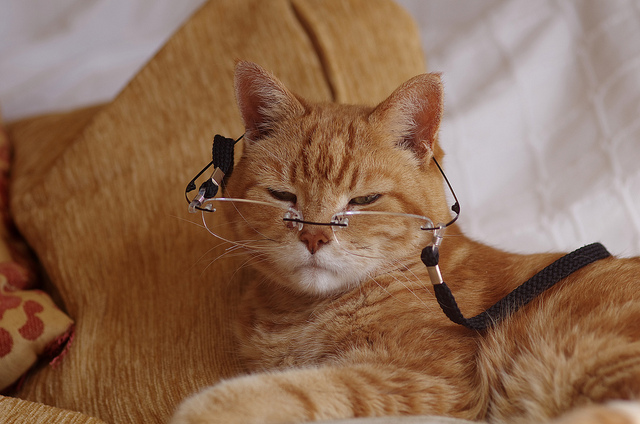
The brilliantly handsome Fredrick Douglass!
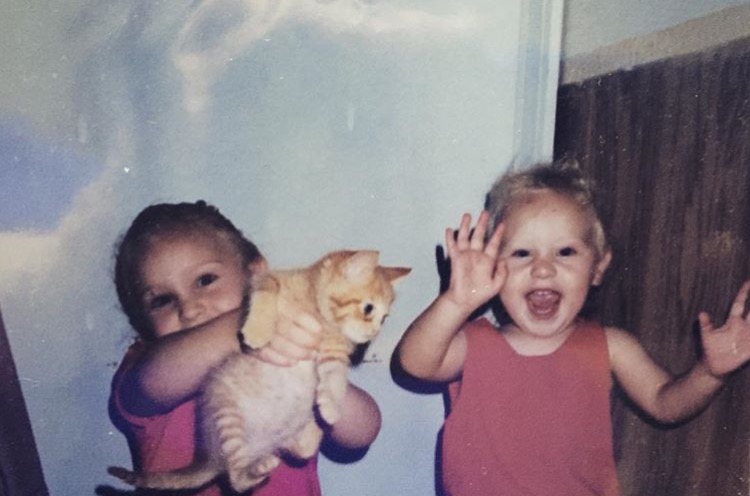
About a year and a half ago, I came home from my boyfriend’s (now husband) fraternity house. I was exhausted and on my way to the restroom to brush my teeth. When I walked in, I heard very loud meowing coming from the room. I couldn’t figure out where the meowing was coming from! It wasn’t until I crouched near the bathtub and I realized there was a cat stuck underneath it! I immediately called my boyfriend and said, “Honey, there’s a kitty inside the bathtub!” Kyle drove over as soon as he could, went to the back of the house, pulled the panels apart and a little blonde cat crawled from under the house and into Kyle’s arms.
After we pulled the burrs and thorns from his coat and paws, we brought him inside and continued cleaning him up. This little cat has become an addition to my household as he and Kyle had imprinted on each other. Kyle had been reading former slave and abolitionist Fredrick Douglass’s autobiography My Bondage and My Freedom before he rescued this cat from the bathtub. Out of inspiration from such a strong man and great author, Kyle named his new cat Fredrick Douglass; Fred or Mr. Douglass for short.
We took him to our veterinarian a few days later and learned that Fred was about eight months old, didn’t have a microchip, and wasn’t neutered. After getting him his needed vaccines and scheduling his neutering appointment, Kyle and I brought him back to my home and began introducing him to my other cats; Missues and Baby Kitty. Fred didn’t have the easiest time adjusting to the other cats at first. He and Baby Kitty fought frequently for dominance and territory. Missues would avoid Fred as much as she could, but would be cornered by him sometimes when he wanted to try to mate.
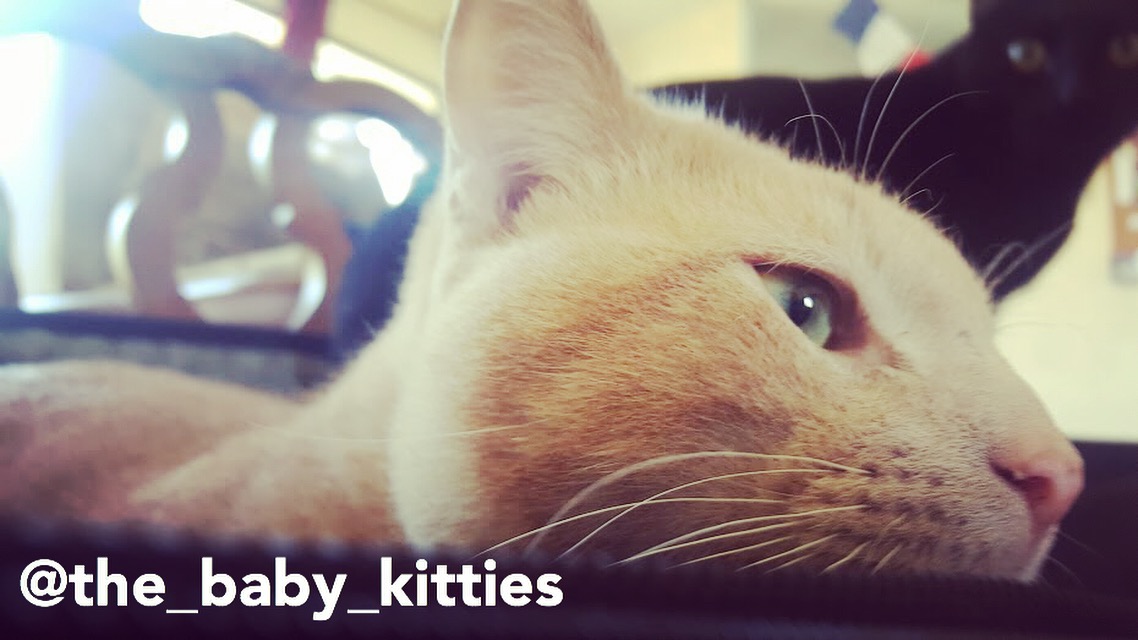
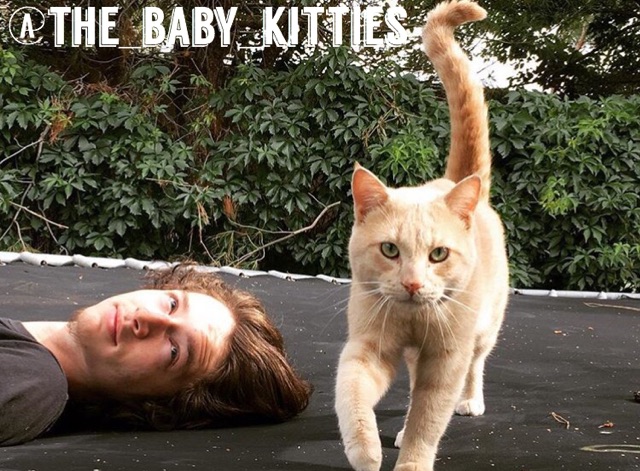
Baby Kitty watches his new brother Fred with curiosity.
Fred was hesitant to letting me touch him and only accepted pets and snuggles from Kyle. He began spraying in the other cats hiding places to assert his dominance, and even on Kyle’s shoes and dirty clothing. And when it came to feeding, Fred would become aggressive with whoever was eating; growling became the norm when we placed food in front of him, and we had to be fed separately from Baby Kitty and Missues. To say the least, it was a struggle in the beginning.
Kyle was a previous dog owner and, with Fred as his first cat, he was confused with Fred’s behavior. When he picked up Fred, loud grumbles and growls always came, and when we walked past him sometimes Fred would crouch and hiss at us. So, we practiced leaving Fred alone and letting him discover the house, us, and the other cats at his own stride. Of course, when Fred would attack Mr. Baby Kitty or Missues we would put him in a kennel, but other than that we let him do his own thing. Eventually, Fred started sleeping with us. He wouldn’t come close to our faces, but we would curl in a ball at our feet or between our legs. He also started letting me touch him, brush him, and bathe him when was he was dirty.
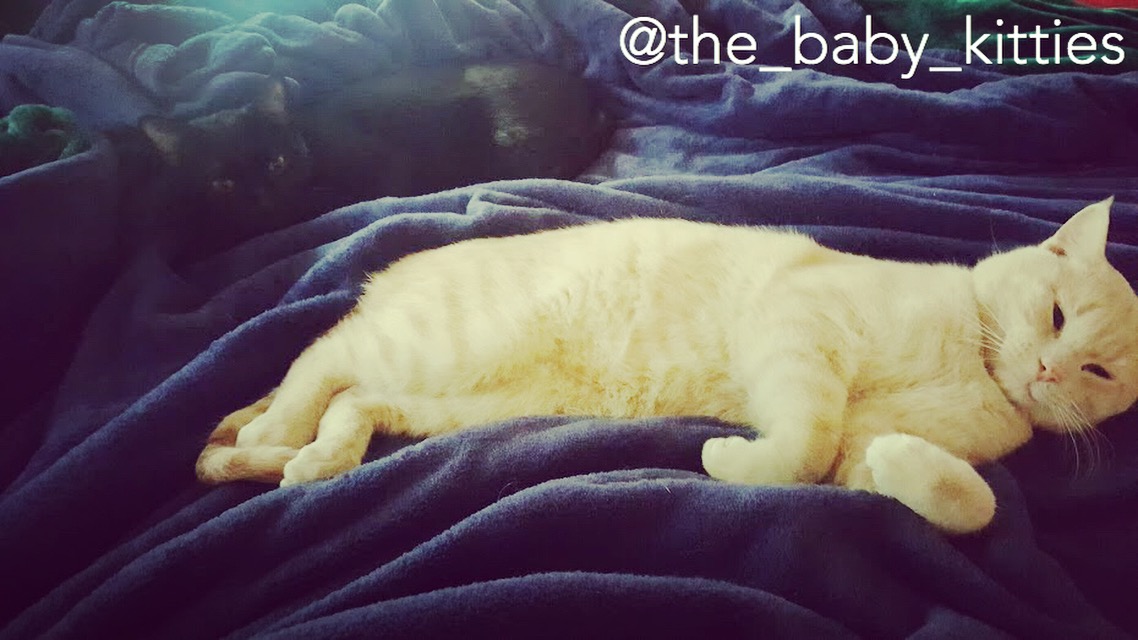
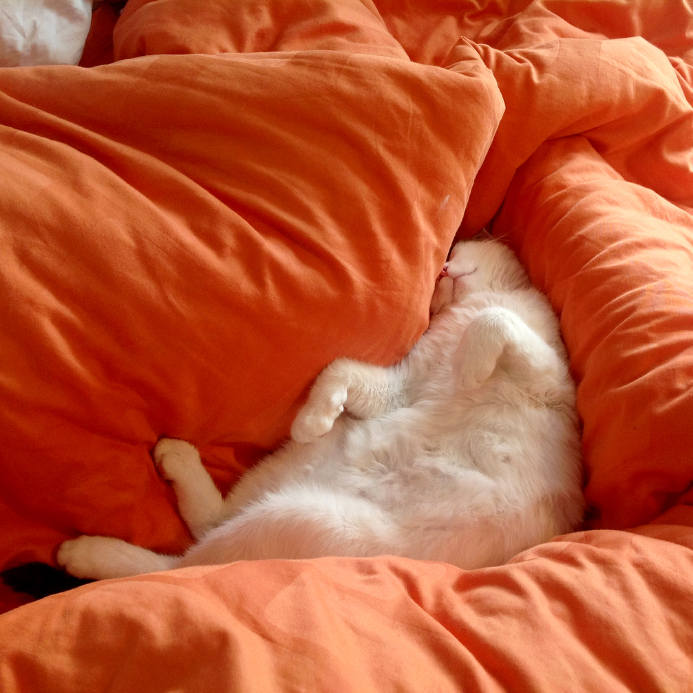
Baby Kitty and Fred comfortably lounging on their parent’s bed.
After Fred was neutered, he became less hostile and more curious about the other cats and what Kyle and I were doing. He began sitting on the arm of the couches while Kyle read and he laid on my yoga mat, staring into my eyes while I was in downward-facing dog. Fred was staring becoming kinder with Missues, and he would lay next to her while she slept. He became more affectionate with Baby Kitty, too! Fred isn’t much of a lap cat like his brother is, and he isn’t as introverted as Missues, but he’s adapted well to living in a house with other cats and he loves being able to spend one-on-one time with his Dad and myself when he wants to.
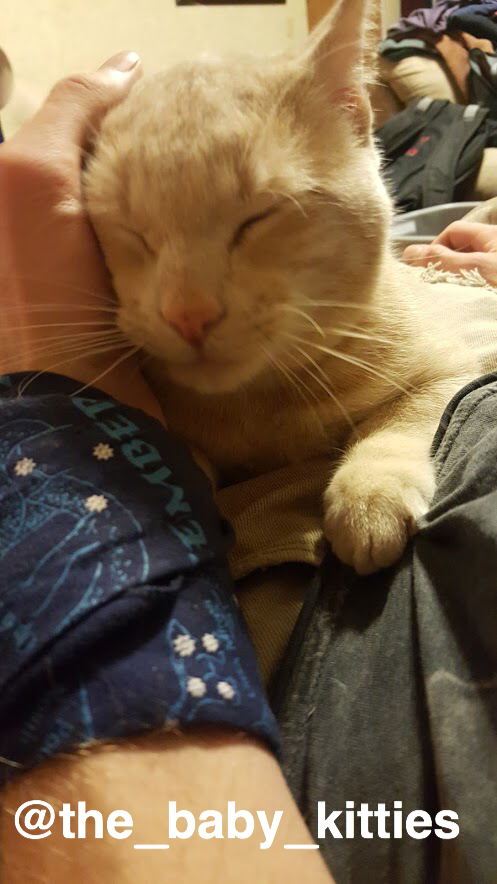
A very happy Fred cuddling with his loving Dad.
If you find a feral cat and they aren’t comfortable with your home or your lifestyle, you can always foster them until you find an appropriate home for them. No-kill shelters and sanctuaries are also a great way to save a life without sacrificing your time, home, or the happiness of the cat you thoughtfully rescued. They may not be the right fit for your home, but you can still help find them their purr-fect forever family.
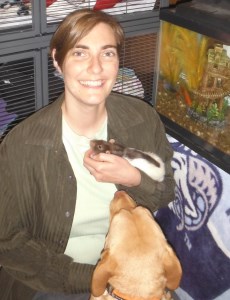
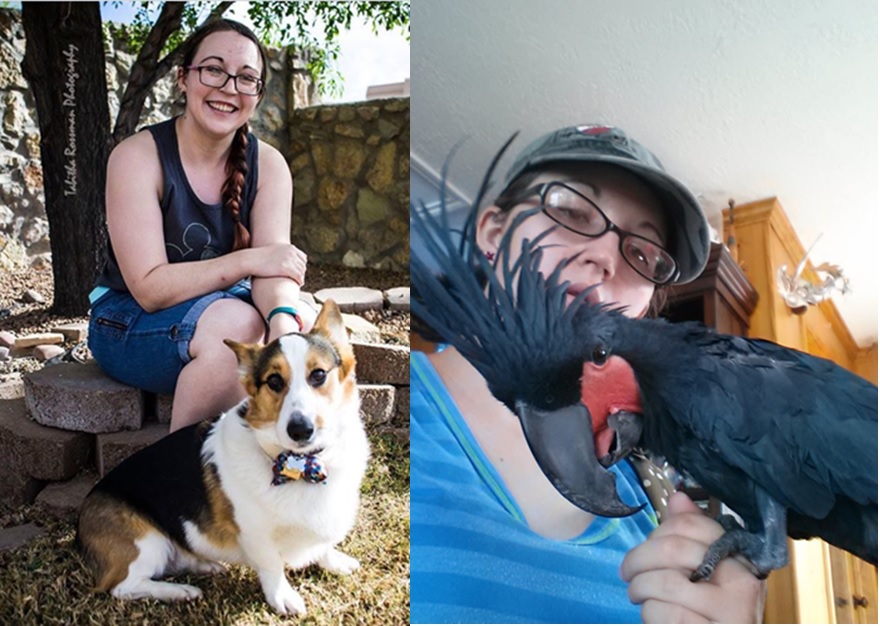
Elanda-Isabella Atencio, our Feline Editor, is on her road to being a “crazy” cat lady. She has three cats; a moody Missus, a wild Baby Kitty, and notorious Fredrick Douglass. She was raised with cats, chickens, dogs, and geese. From cleaning coops, morning dog runs, picking eggs, to growing catnip, Elanda enjoys pampering her pets. Elanda is a student at New Mexico State University, earning her BA in Creative Writing and is Editor-in-Chief of the online arts journal, Independent Noise and reader for Puerto del Sol. She plans to move to Oregon, where she hopes to take her cats on daily walks when it’s overcast and cool. If you’d like to contact Elanda, email her at eincatencio@gmail.com.