
Regular readers will recall a similar post that I made some time at the end of last year. In my review of the smaller vacuum, I had stated I would be needing a larger one and would review that product as well. Now that my goldfish, Nix and Hydra, are permanently moved from their “starter tank” to their home in a 60 gallon aquarium at school, I needed to upgrade my gravel vacuum, so here I am again.
Assembling The Aquarium Vacuum
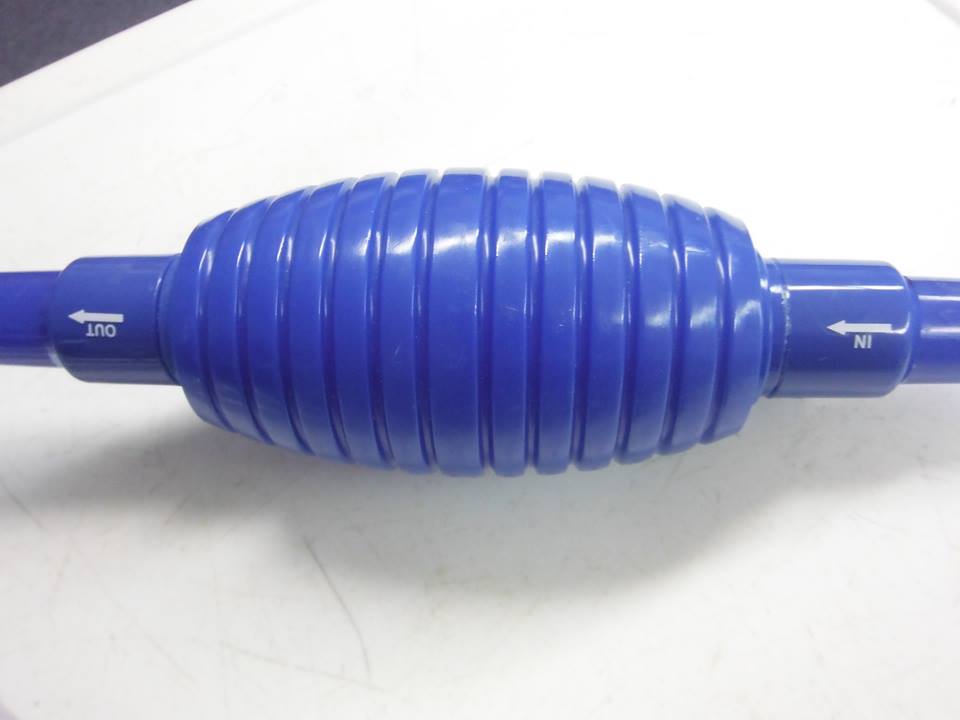
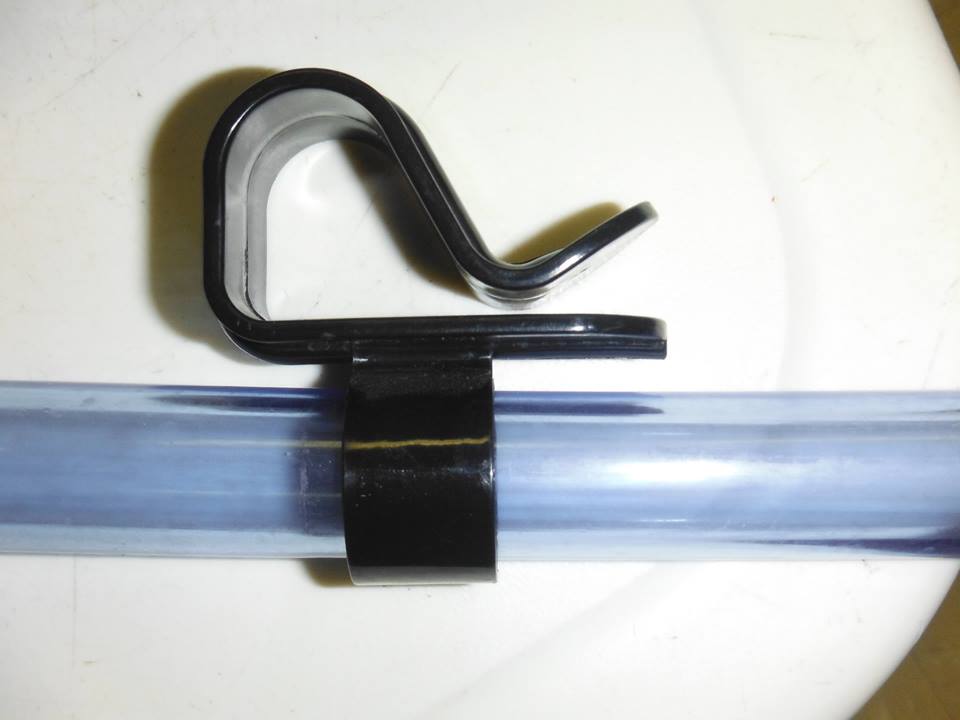
Assembly of this vacuum is exactly the same as the smaller variety, a very simple process that even my pre-schoolers could figure out rather quickly. The kit consists of two tubes, one longer, one shorter, the bulb, and a clip to hold the longer tube in your bucket, all the same parts as the smaller version, they’re just bigger. This can make them a little harder to fit together tightly, but with the proper fiddling and a little bit of extra squeezing, it works out in the end. Remember you want a tight fit between the bulb and the hoses so that they don’t fall apart on you while you are using them. Also, make sure you follow the arrows that are printed on the side of the bulb. You want the water to follow the in/out direction indicated on the side.
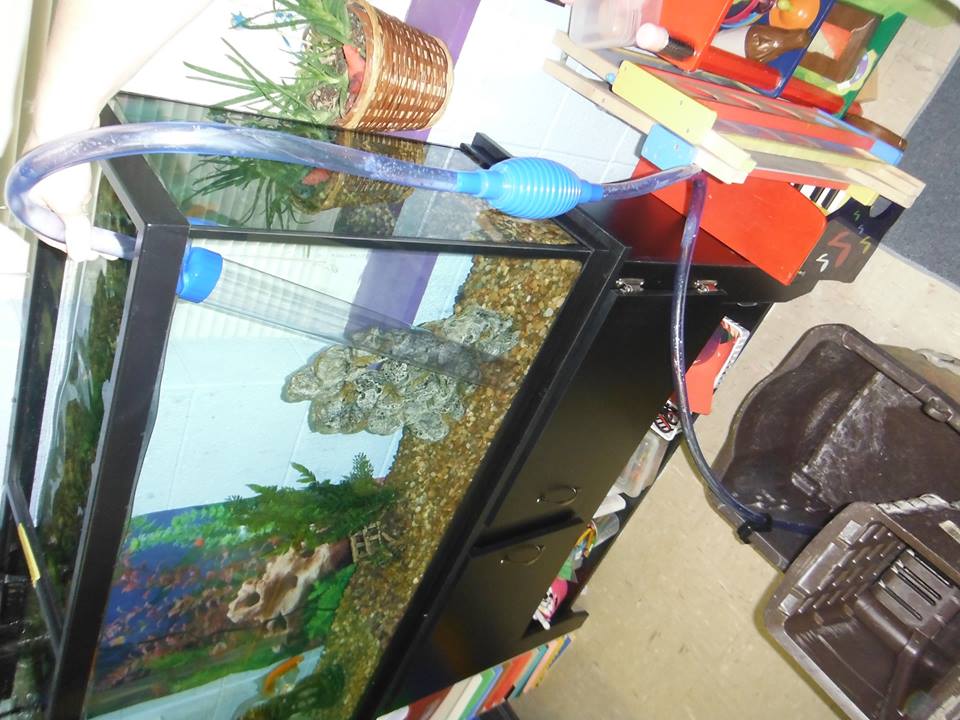
I found that the longer tube on the x-large version doesn’t seem to have the extra length to it that the small version did. When I cleaned Nix and Hydra’s tank with the small vacuum, I seemed to have extra tubing winding all around the inside of my bucket, but there have been a few times when I have almost pulled the tubing out of the bucket when using the x-large vacuum, so be aware that it is somewhat easier to accidentally pull your tube from your bucket when you are cleaning. Normally I would put this down to being an issue with the height of my tank, however it is on average the same height of other tanks of comparable size and volume, so I’m not sure that is the entire cause of the seeming lack in hose length.
The speed of the water flow seems to be much more rapid compared to the smaller vacuum, probably due to the larger size of the intake nozzle. This is both a help and a hindrance, since I have had to empty my bucket much more frequently than with the smaller version. With the small vacuum I was able to watch the intake tube, but with the larger one I find myself putting more attention on the bucket, which between pulling the tube out and overflowing from rapid intake, can become a distraction to the actual removal of waste from the tank. After many tries, I have found that the trick to slowing down the flow is to actually encourage the intake hose to become partly filled with gravel. Water still comes through, but at a much slower pace, however, this means you are not taking out as much waste as you would like. It isn’t ideal, but it does work. Figuring out what works best for you might be a little bit of a puzzle, but it shouldn’t take long to come up with your own tricks of the trade.
Water Replenishment In Your Aquarium
The overall amount of waste that the x-large vacuum collects seems to be proportionally equal to that of the small vacuum, meaning I am spending as much time and effort per gallon as I was with the smaller tank setup. Having changed Nix and Hydra’s water regularly since January, I can say that the tank continues to look as fresh as the day I moved it in to my classroom. It should be noted that I vacuum the tank once (sometimes twice) a week, which brings me to the only serious issue that I have with using this vacuum on a large aquarium: Water Replenishment
Nix and Hydra live on well water, which comes from my house, outside of town. Their tank is a good 10 minutes away from the water that fills it. This is my choice, because to me this is the healthiest option for my fish. I have never fully trusted purifying droplets or evaporation techniques that are supposed to make city water safe for my fish to swim in. The down side of this healthier way of living for them means that I have to haul over 36 litres of water per tank change from house to car, from car to school and up a flight of stairs to the tank. That number is for only a quick, sloppy job, if I intend to do a more complete cleaning, I have to make several trips back and forth. This is a process that I am quickly losing fondness for, but it is one of my own making, so I can’t really complain. What I can do, though, is contemplate how others would refill the aquarium after cleaning it out. I would suggest that before fish owners purchase this vacuum, they consider their water source carefully. It is important to freshen the water in the tank, so changing the water out when you vacuum the gravel makes a lot of sense, but if you are looking for a vacuum that will take out less water and more gunk, you might want to find another version. Personally, I would love to have one, slower vacuum for cleaning the waste only where it piles up frequently, and another for actually cleaning the tank with. For now, the setup I am using works, but I am giving serious consideration to finding yet another vacuum that can conserve water on the days when I need to.

Overall, I’m really happy with the x-large vacuum. It is still safe for the fish and is just as easy to use, even if it takes a little bit more getting used to than the small size. It’s a great vacuum for total tank cleaning, but I’d find another if you intend to use it for spot-cleaning.

Mirrani Houpe, our Small Animal Editor, has had rats since she took home her first little boy once they both completed the second grade. Since that time she has owned, rescued and bred many kinds of rats, from many backgrounds. She may not be a vet, psychology major, or scientist, but her babies have her very well trained when it comes to how to care for them. She is constantly working with her family’s veterinarian to come up with new and innovative ways to love and care for the most often misunderstood rodent in the pet world. You can e-mail her at mirrani@yourpetspace.info